Skip to content
assostro-header-logo
assistro
  • Integrations
    • Zapier
    • Shopify
    • Hubspot
    • WordPress
    • Chrome Extention
    • Metro Accounting (Coming soon)
    • Flavor CRM (Comming soon)
  • Learn
    • Blog
    • Developer Guide
    • User Guide
    • Tutorial
  • Pricing
  • Contact Us
Get Started

SyncMate

8
  • How to Connect your WhatsApp with SyncMate?
  • Connect your HubSpot App with SyncMate
  • Connect your WooCommerce App with SyncMate
  • Connect your Contact Form 7 App with SyncMate
  • Troubleshooting and Reconnection Guide
  • How to use SyncMate X Shopify Application ?
  • How to send automated WhatsApp messages on Google Calendar events?
  • Connect your Custom App with SyncMate

Other

6
  • How to use SyncMate in a 3rd Party application via OAuth – The Secure way
  • Assistro Dashboard
  • After Installation : Setting up SyncMate Chrome Extension
  • Getting Started with SyncMate and Shopify Integration: A Step-by-Step Guide
  • How to back up your WhatsApp chats in HubSpot?
  • SyncMate User Guide: Regenerating Your Token

Extension

3
  • Define your own template to send schedule message
  • Send Message at a scheduled time using SyncMate
  • Bulk messaging at a scheduled time using SyncMate

Developer Guide

2
  • SyncMate User Guide: Regenerating Your Token
  • Connect your Custom App with SyncMate

Tutorial

2
  • Use WhatsApp API with Custom applications using SyncMate
  • SyncMate Introduction Video
View Categories
  • Home
  • user-guide
  • SyncMate
  • How to use SyncMate X Shopify Application ?

How to use SyncMate X Shopify Application ?

< 1 min read

In this guide we are going to see how to use SyncMate X Shopify Application .
Step 1
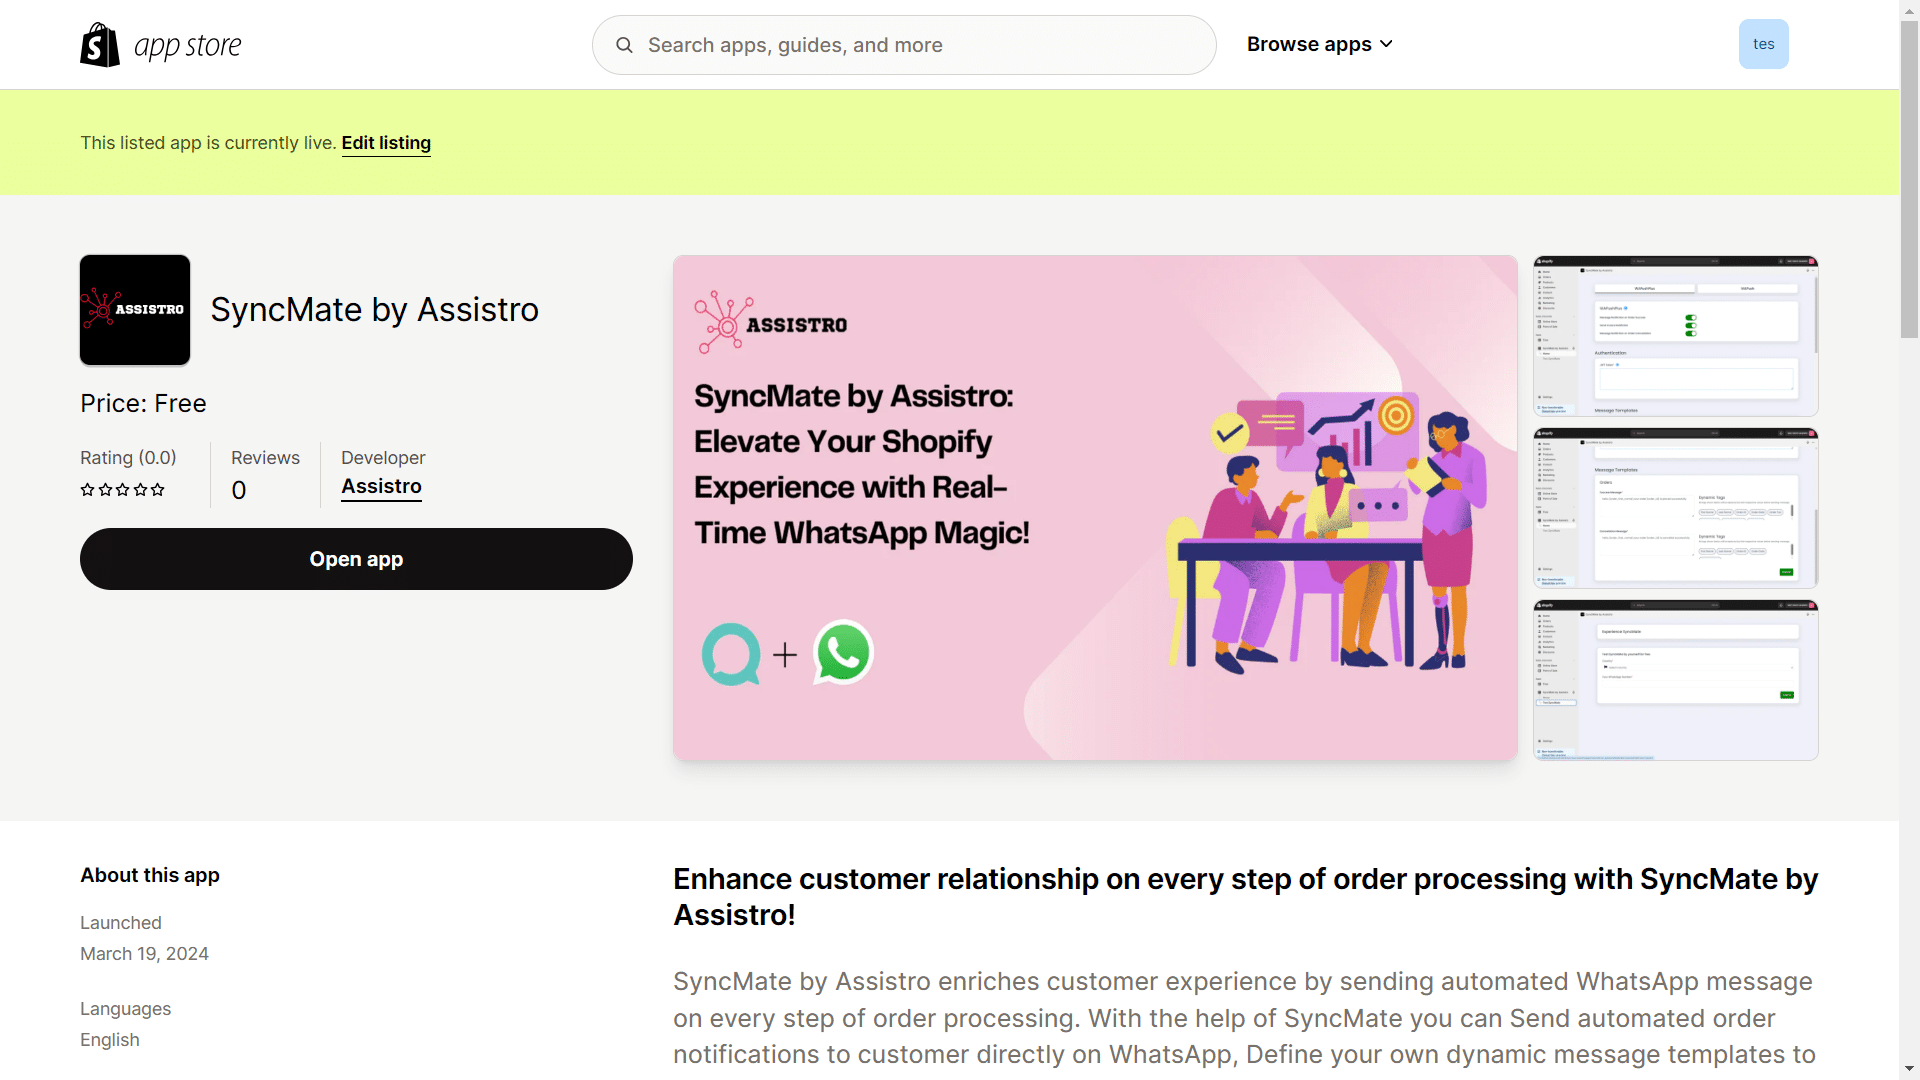
Go to Shopify App Store and install SyncMate by Assistro app.


Step 2

First of all, you will need to connect your WhatsApp with SyncMate, follow the Configuration guide.
 
Step 3
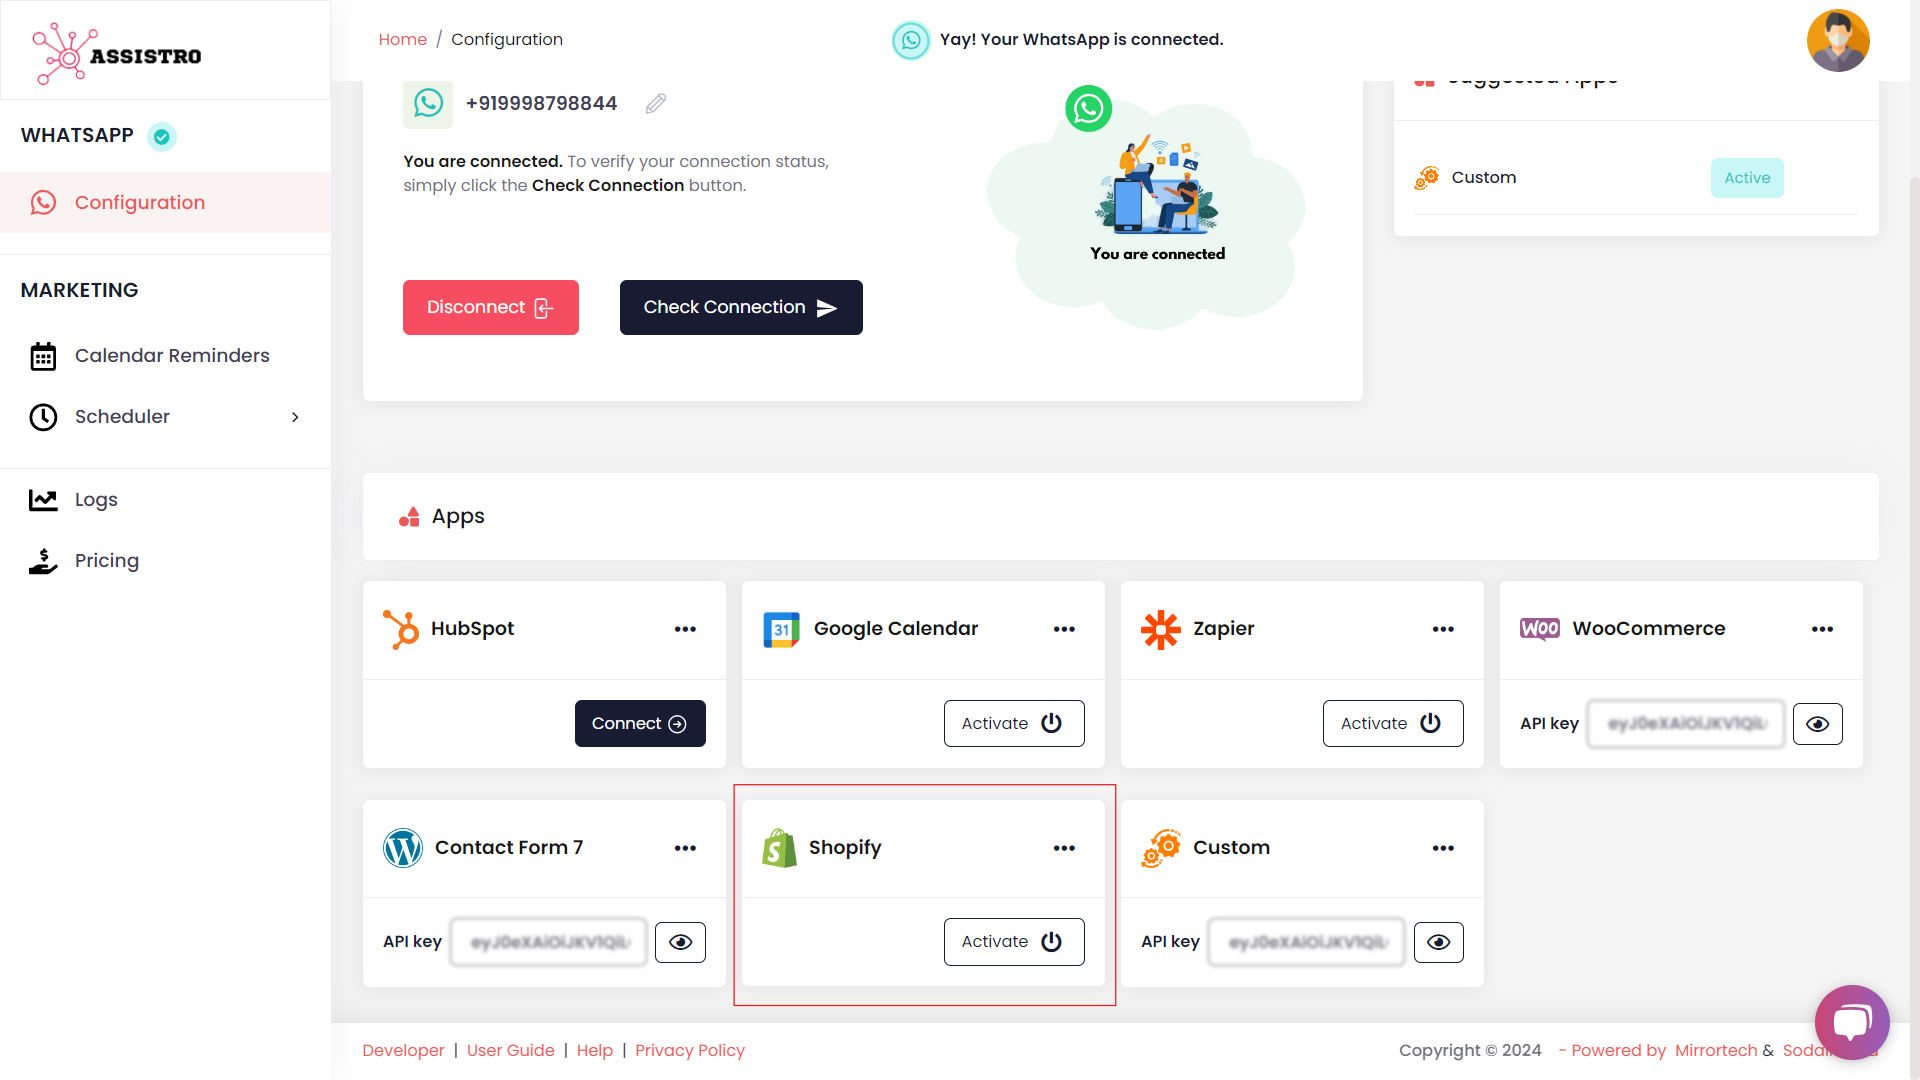
Now, activate the  Shopify app.

 
Step 4
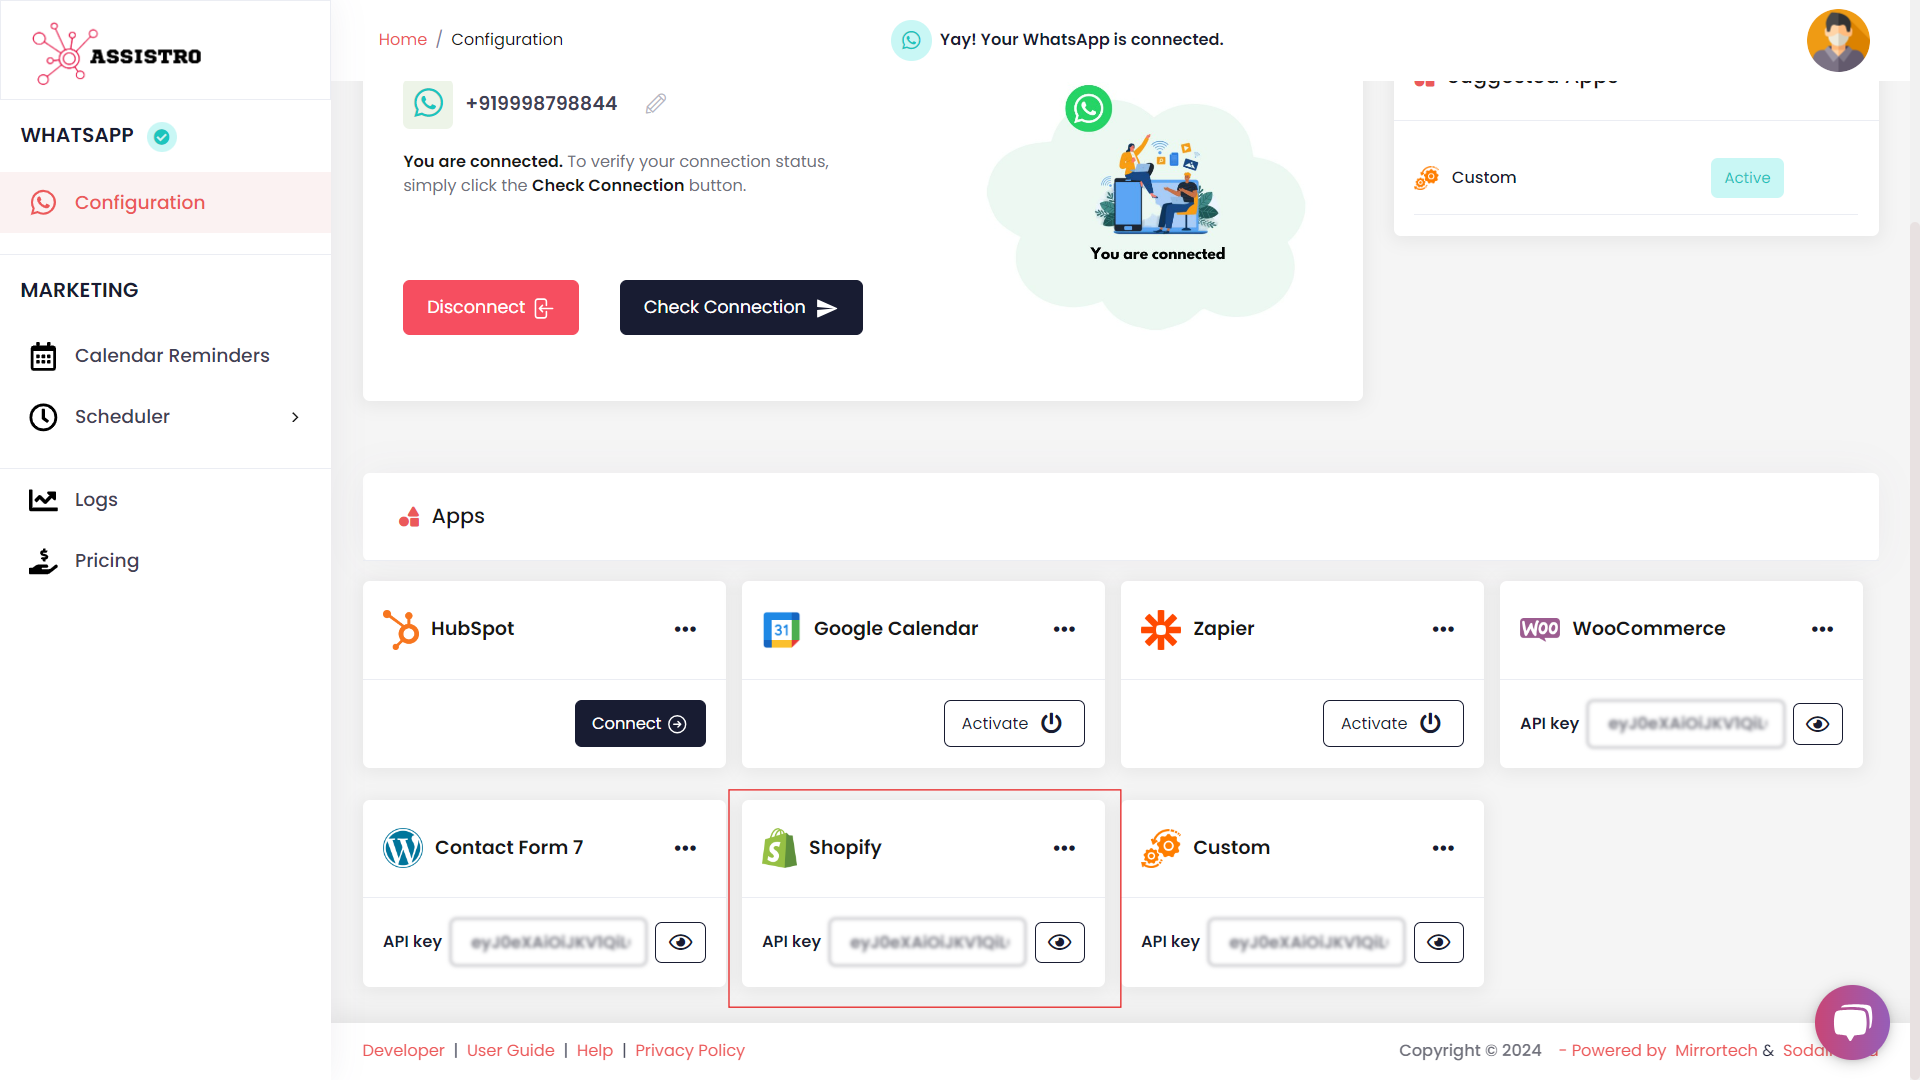
Then, copy the API key of the Shopify app.
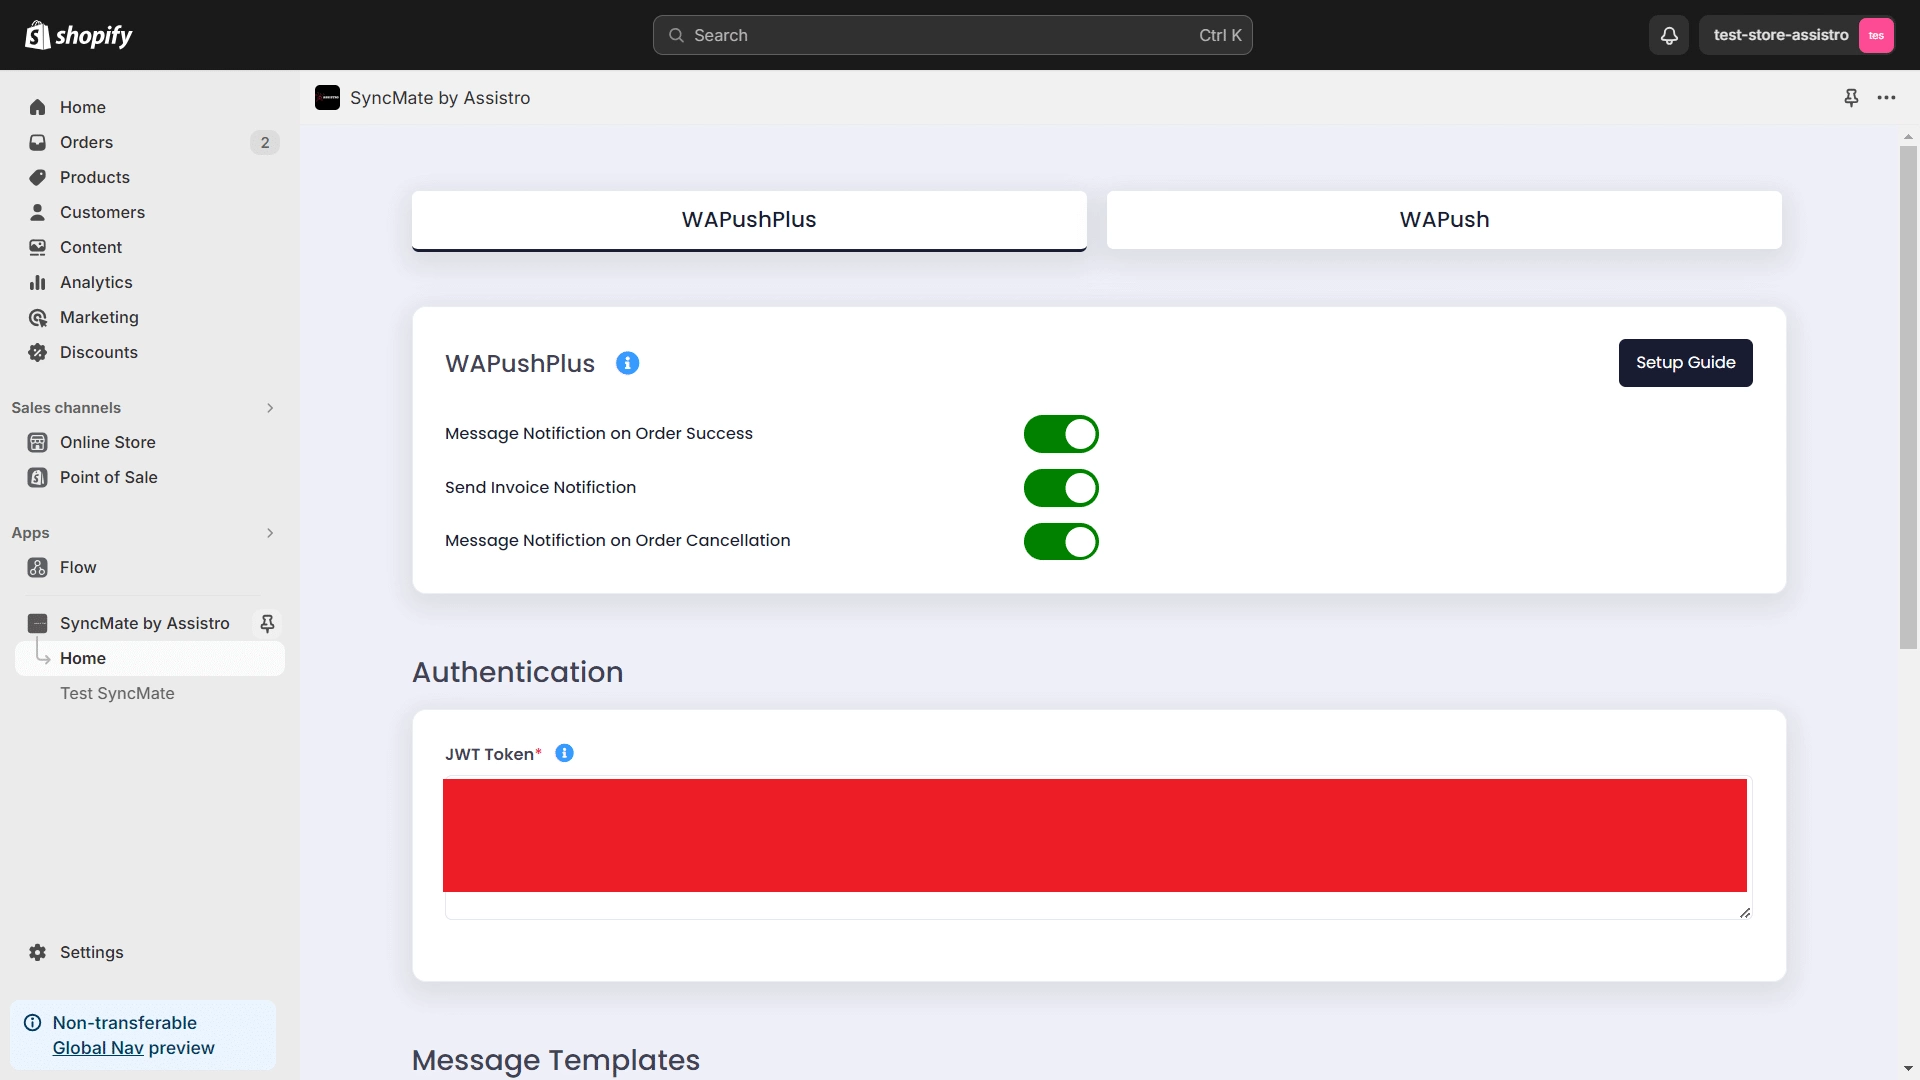

Step 5
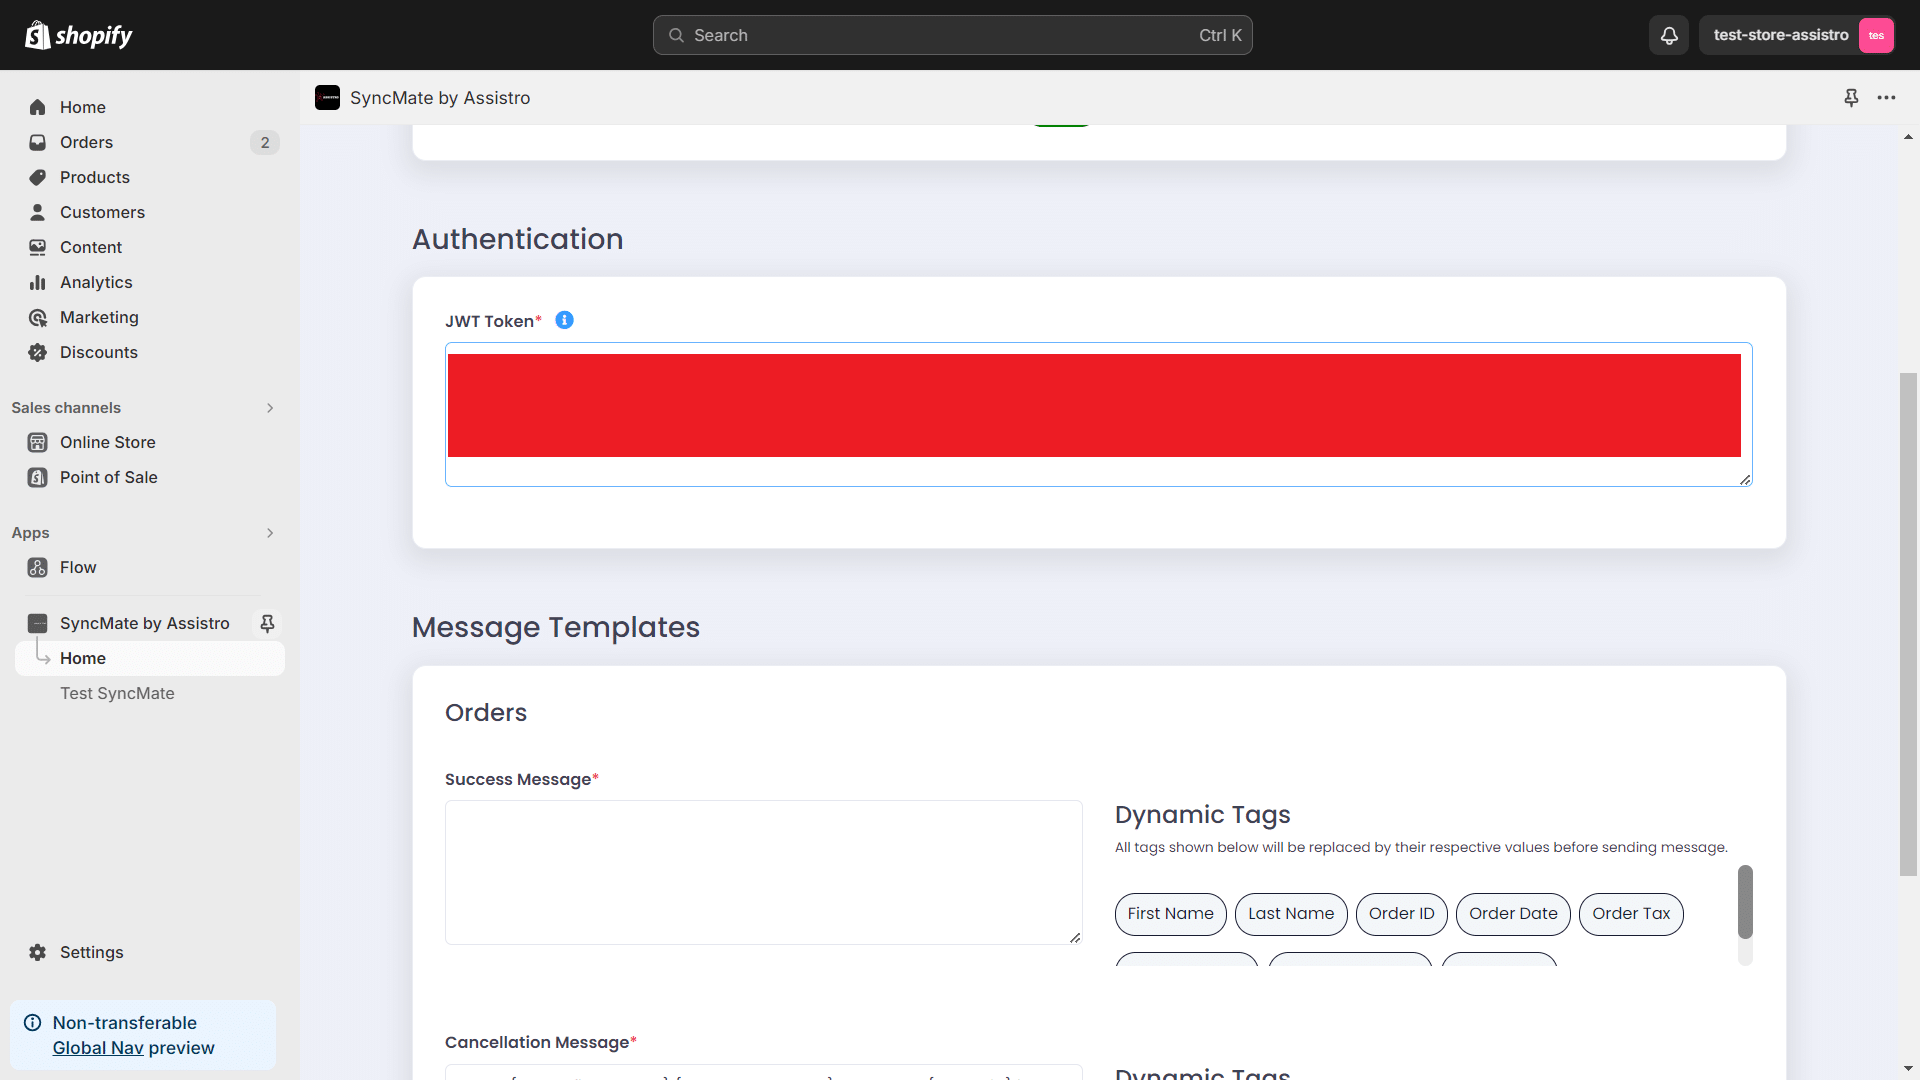
Now go back to your Shopify application and paste the token in the jwt token field.
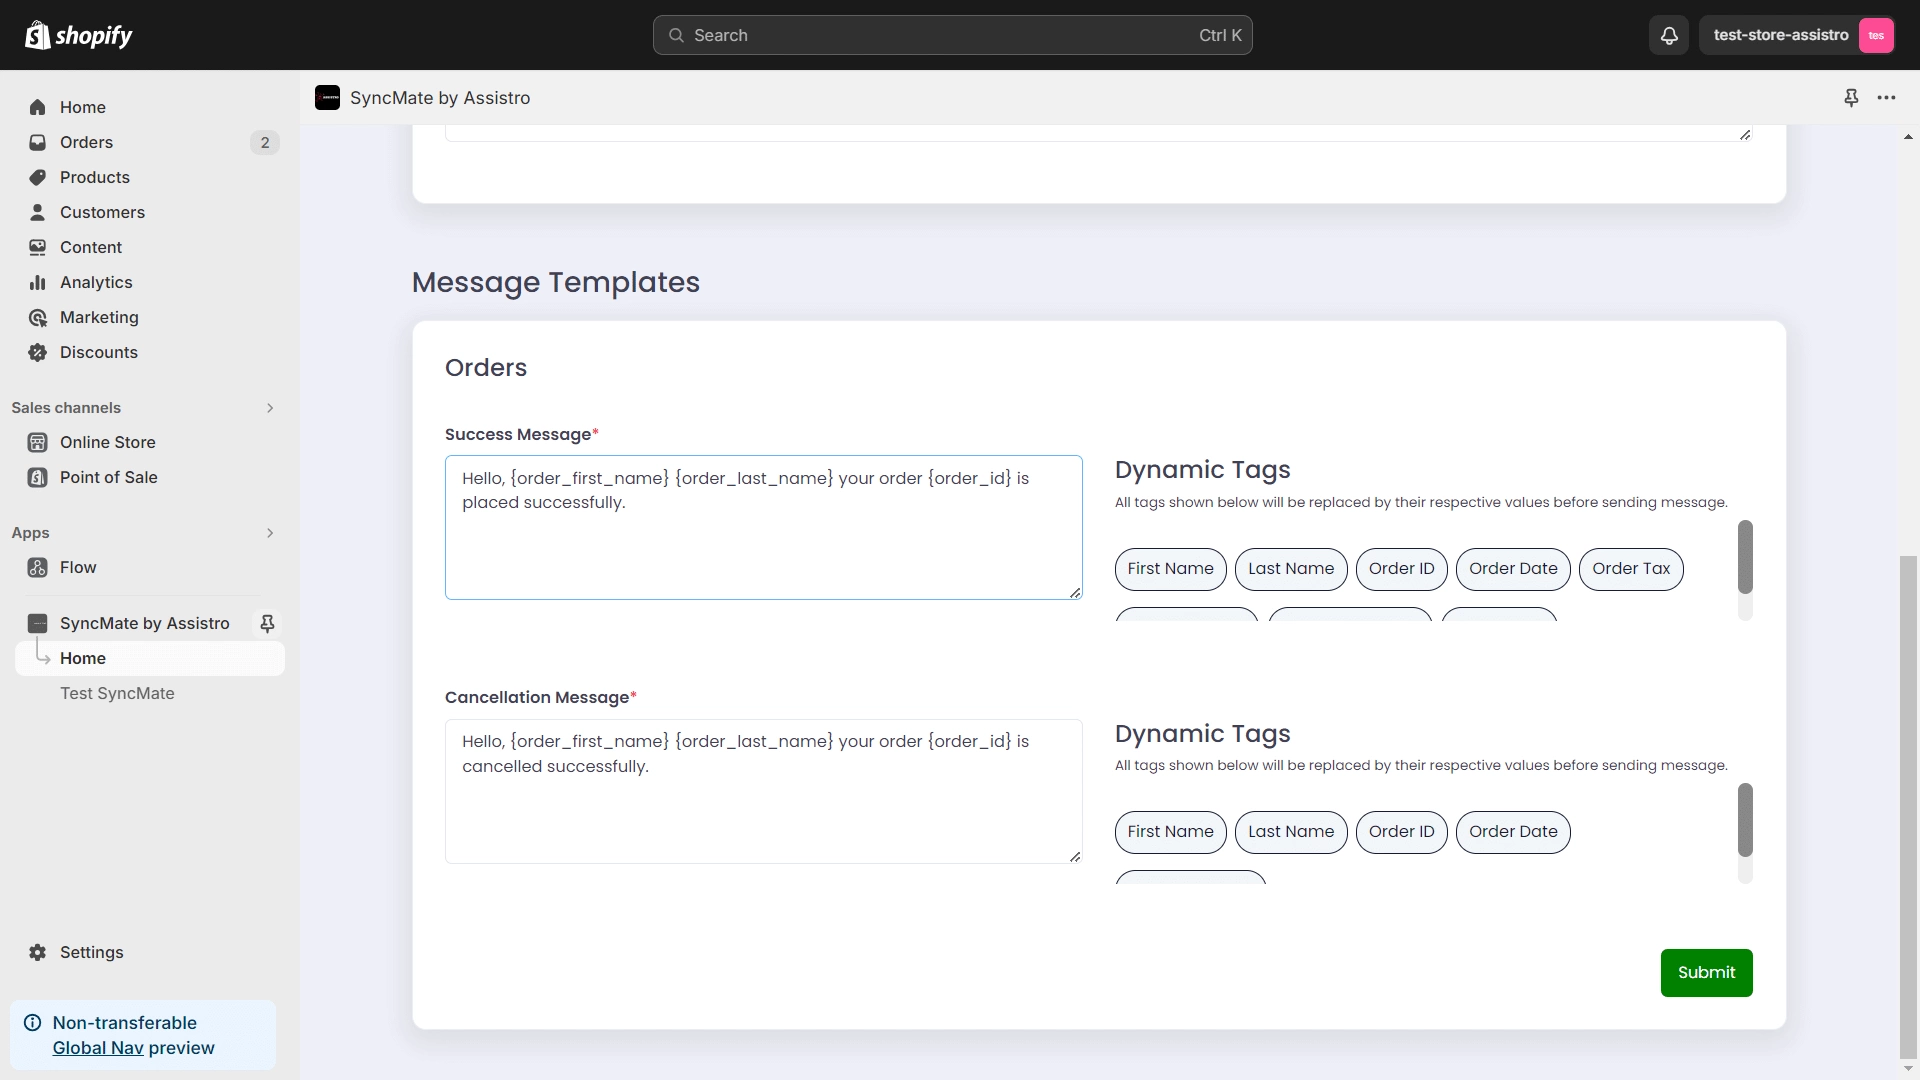
 
Step 6
Create your message templates using dynamic tags and Submit the form.

 
Step 7
After submitting the form, you will see the toggles for each feature. Turn the toggle on for the feature you need.
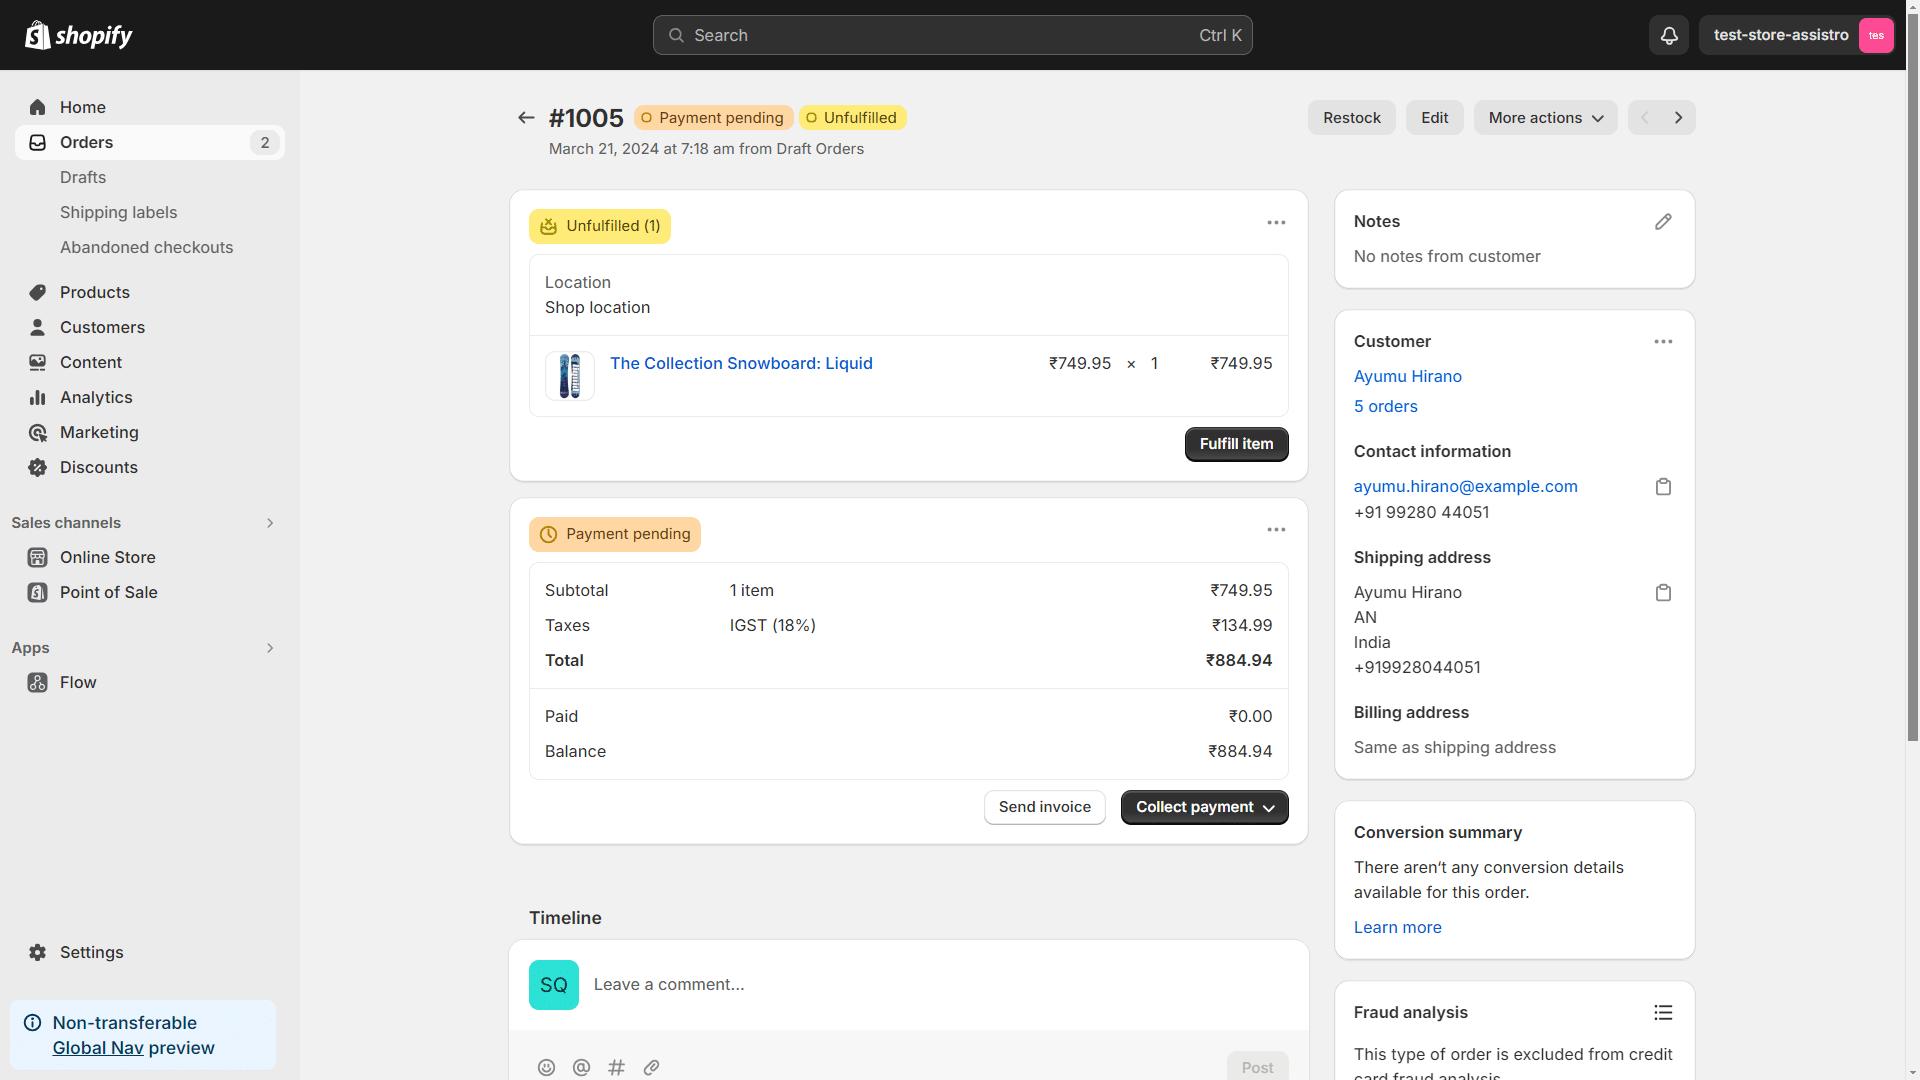
 
Step 8
Now, create an order on Shopify Store to test the application.
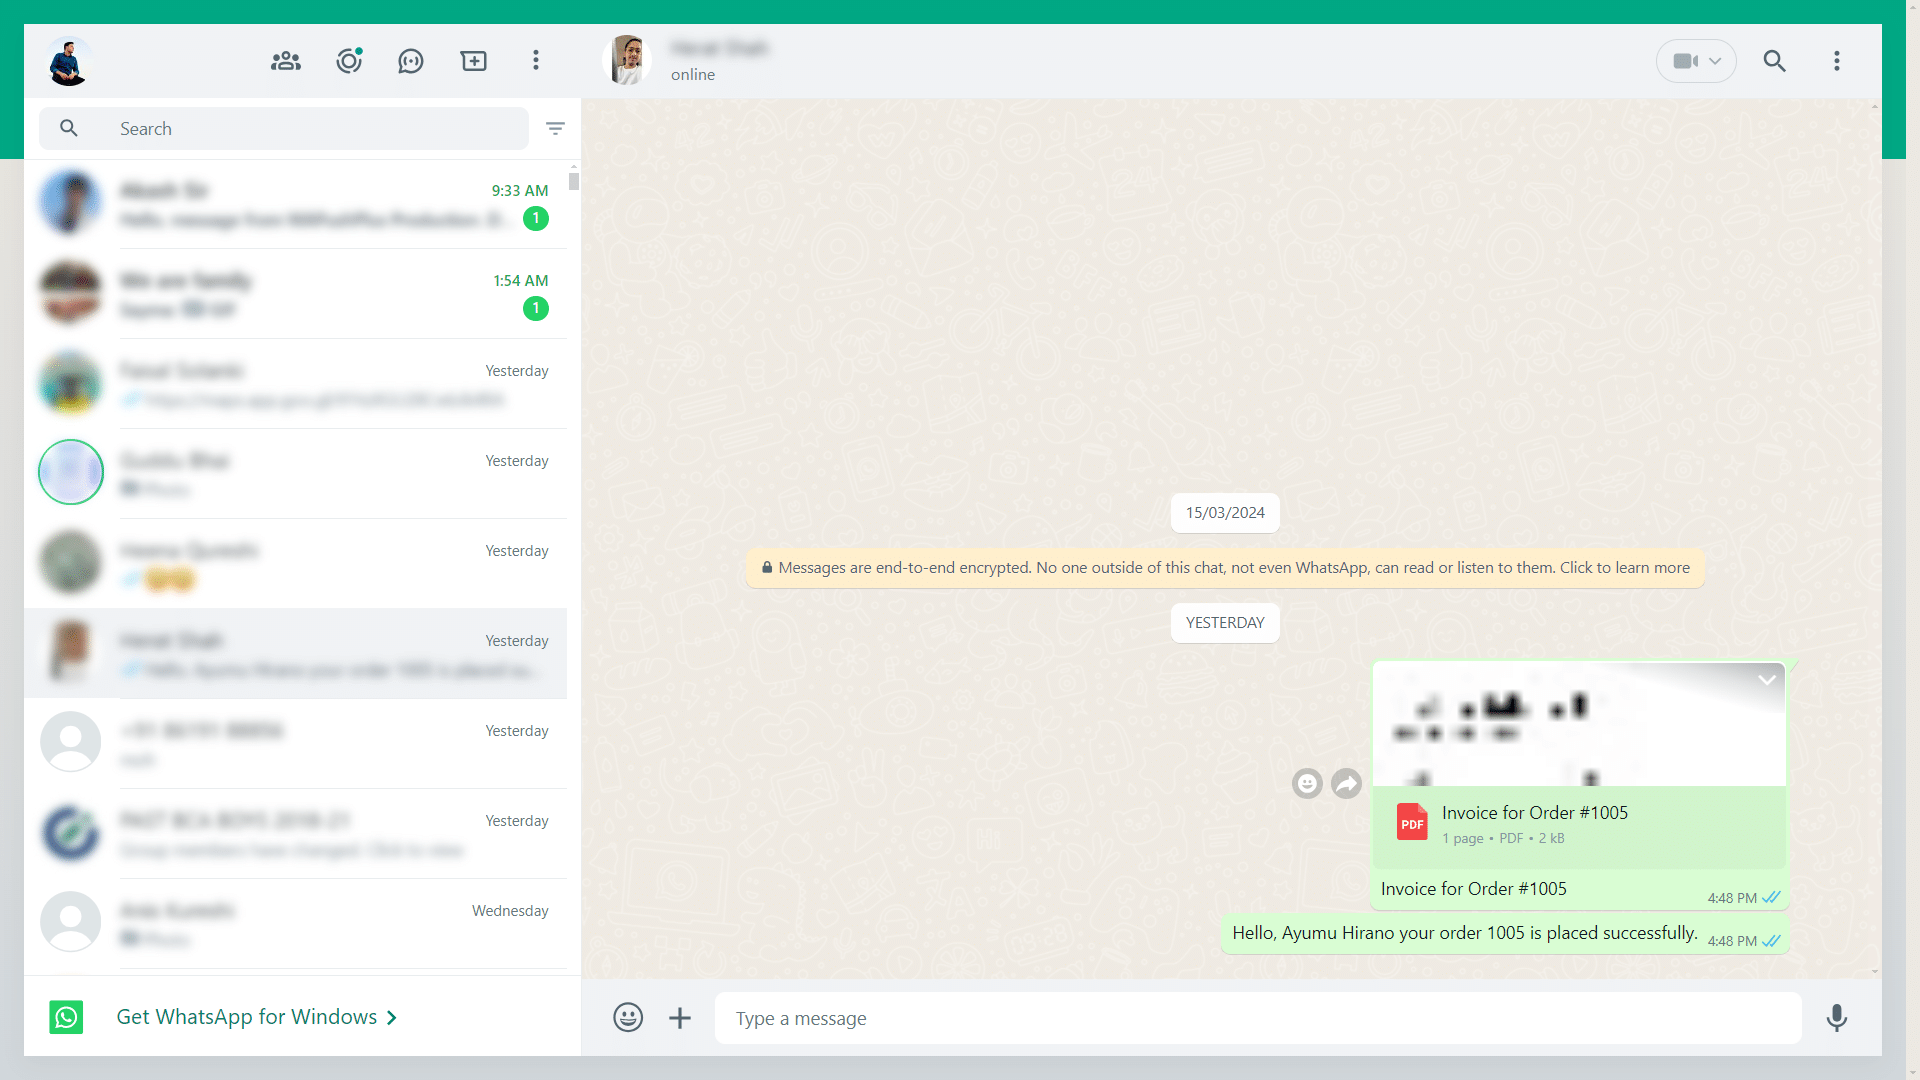
 
Step 9
That’s it , now the order notification along with the invoice will be sent on WhatsApp to the customer.

Updated on July 2, 2025

What are your Feelings

  • Happy
  • Normal
  • Sad
Share This Article :
  • Facebook
  • X
  • LinkedIn
  • Pinterest
Troubleshooting and Reconnection GuideHow to send automated WhatsApp messages on Google Calendar events?
assistro

We’re your innovation partner, delivering cutting-edge solutions that elevate your business to the next level.


    Navigation

    • Integrations
    • Pricing
    • Contact Us

    Integrations

    • Zapier
    • Shopify
    • Hubspot
    • Wordpress
    • Chrome Extension
    • Metro Accounting [Coming soon]
    • Flavor CRM [Coming soon]

    Learn 

    • Blogs
    • Developers
    • User Guide
    • Tutorials

    © Copyright 2025, All Rights Reserved by Assistro